
This is the story of the pumpkin who believed it could so it did.
Every post I write revolving around fall food mentions my love of other fall foods like apple pie and maple lattes, but guys let’s be honest with ourselves – we love these things, but they can get expensive.
Apple picking can be up to $30 because it’s not just about the fruit – it’s about experience and supporting local economy. Both are things that I heavily support because I want the community I live in to flourish, however, this year, as we’re trying to be a little more strategic with our experiences, we picked our local batch of apples that had been sold at a store that works with a few local to MA farms, not necessarily Worcester. This was about a sixth of the price.
If you’re the one making pumpkin pie at Thanksgiving, then you also know that the joyful treat isn’t cheap to make either. A typical can of pumpkin is about $2.99, and at least at our stores, they rarely go on sale.
Now there’s the argument for convenience and I get that, but if you have the time making your own pumpkin puree is really easily and you know it’s fresh.

What You’ll Need
- 1 pie pumpkin (small pumpkins, I got mine for $1)
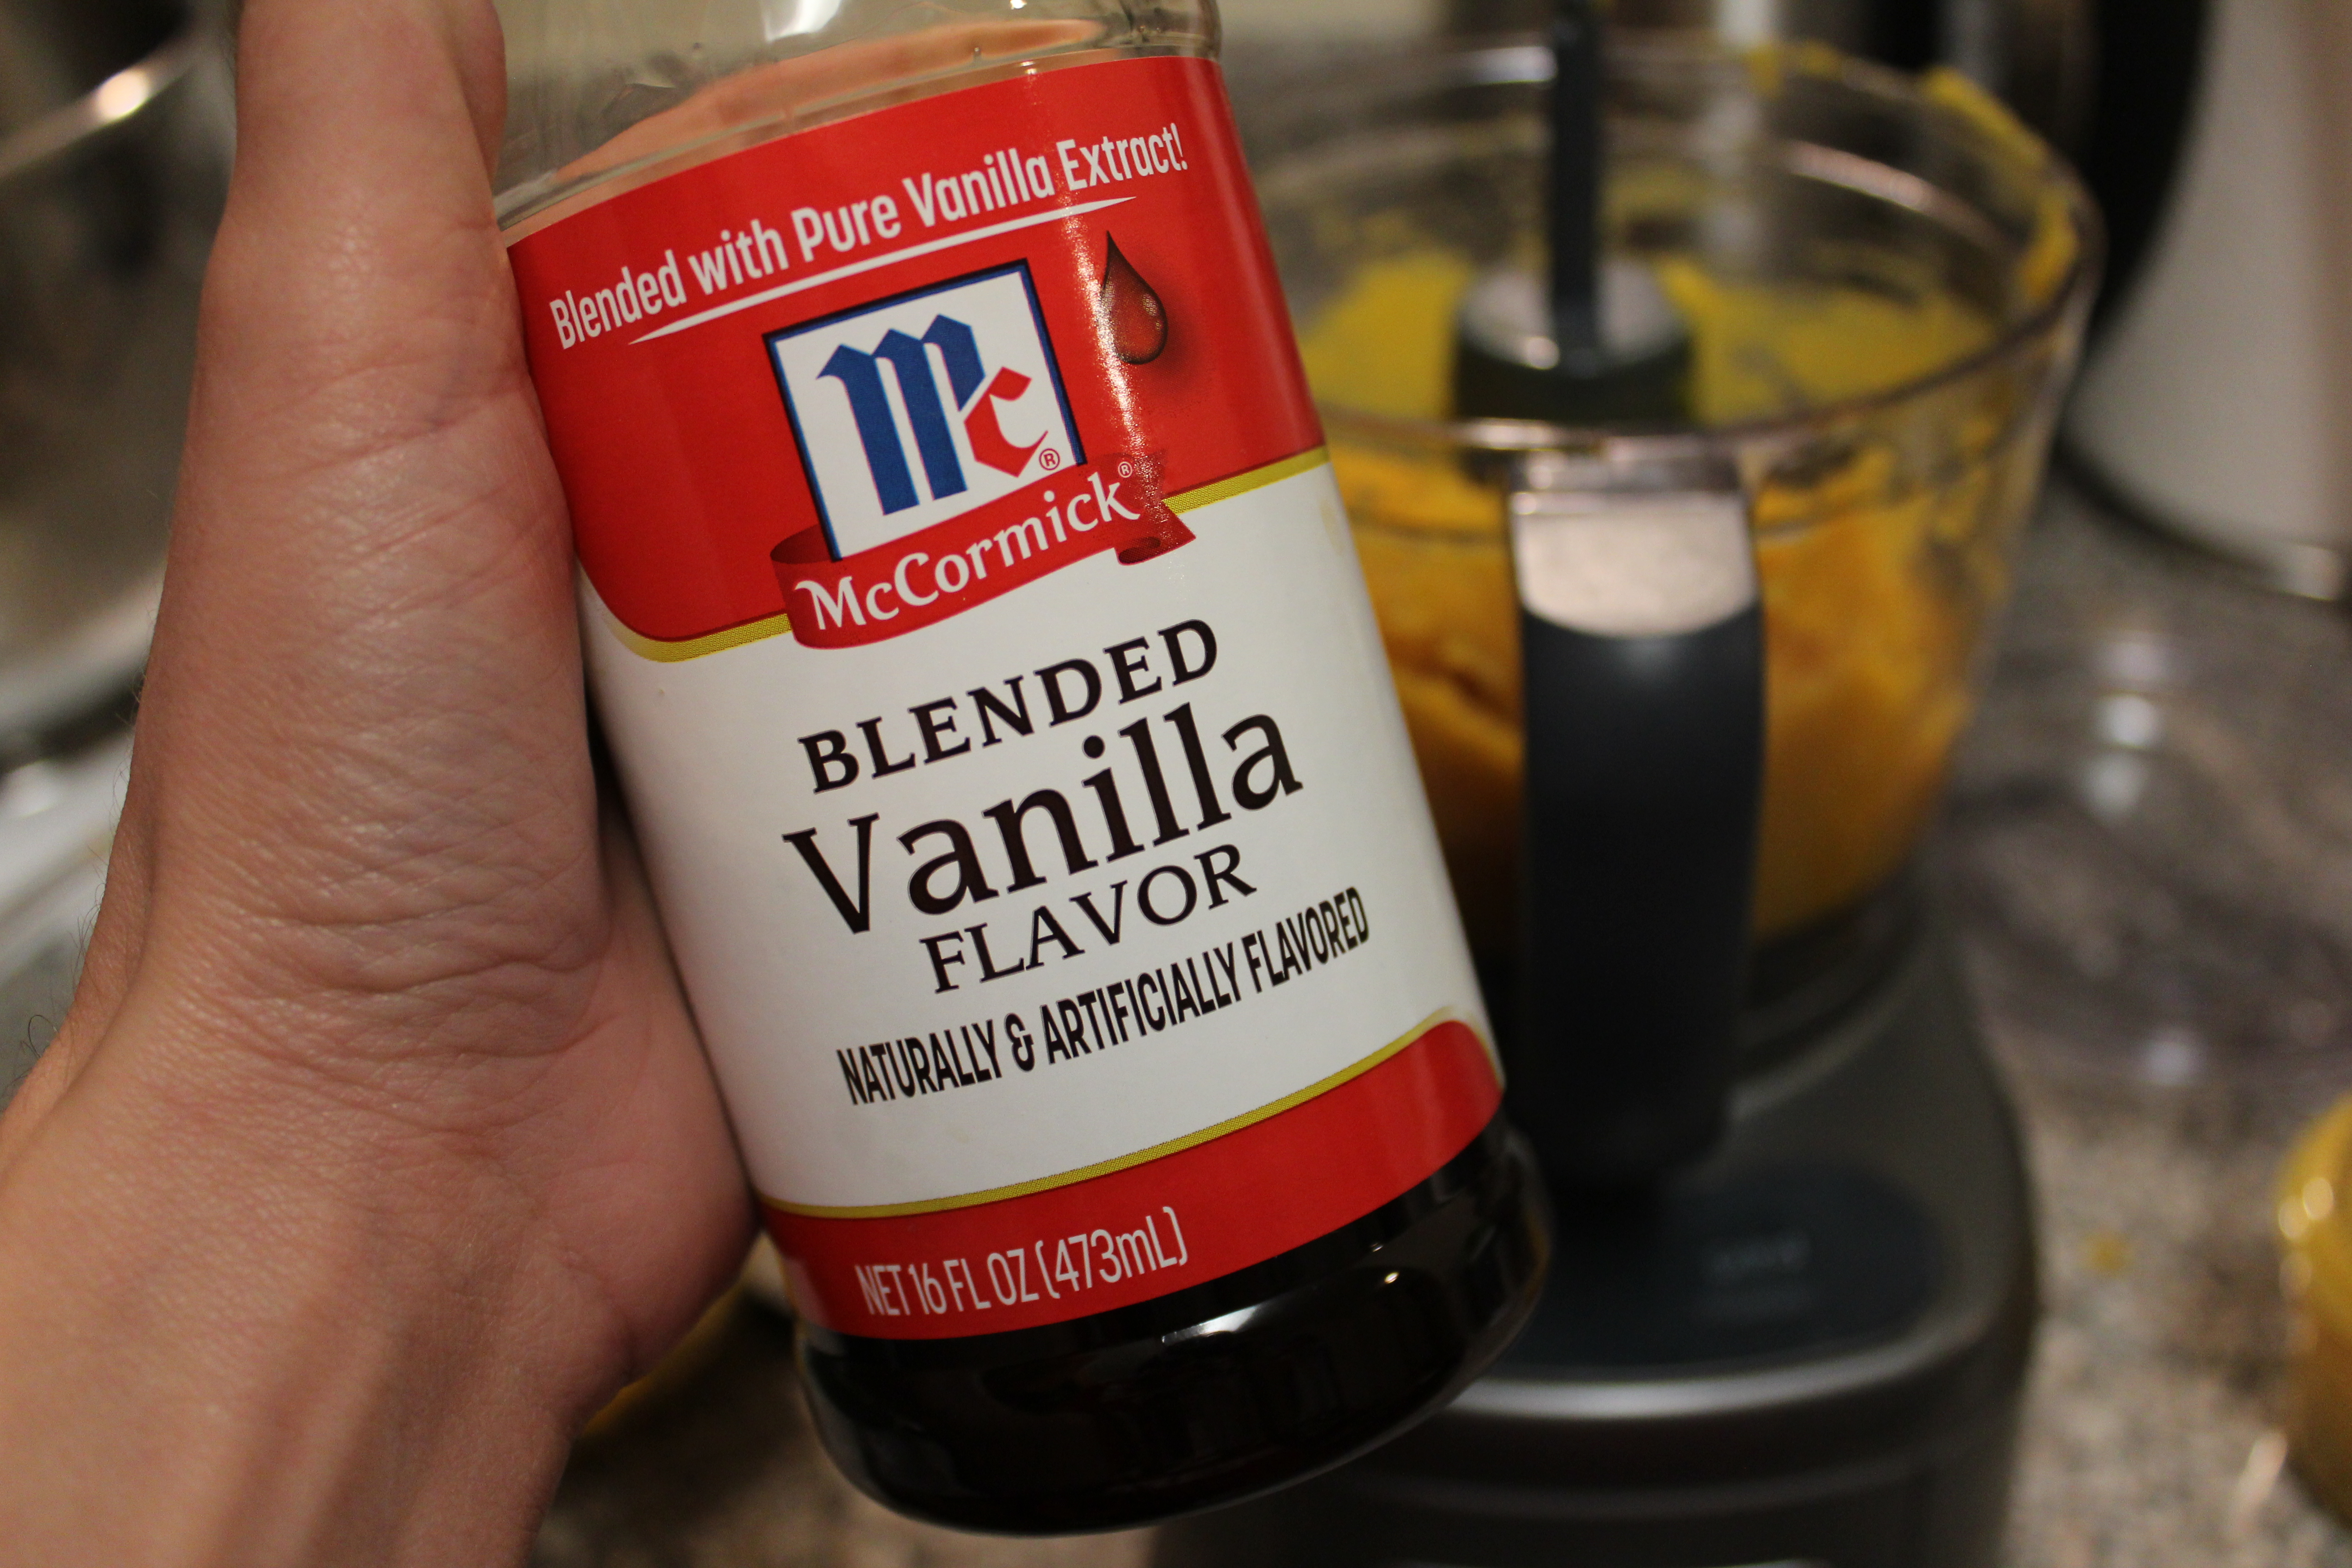
- Vanilla
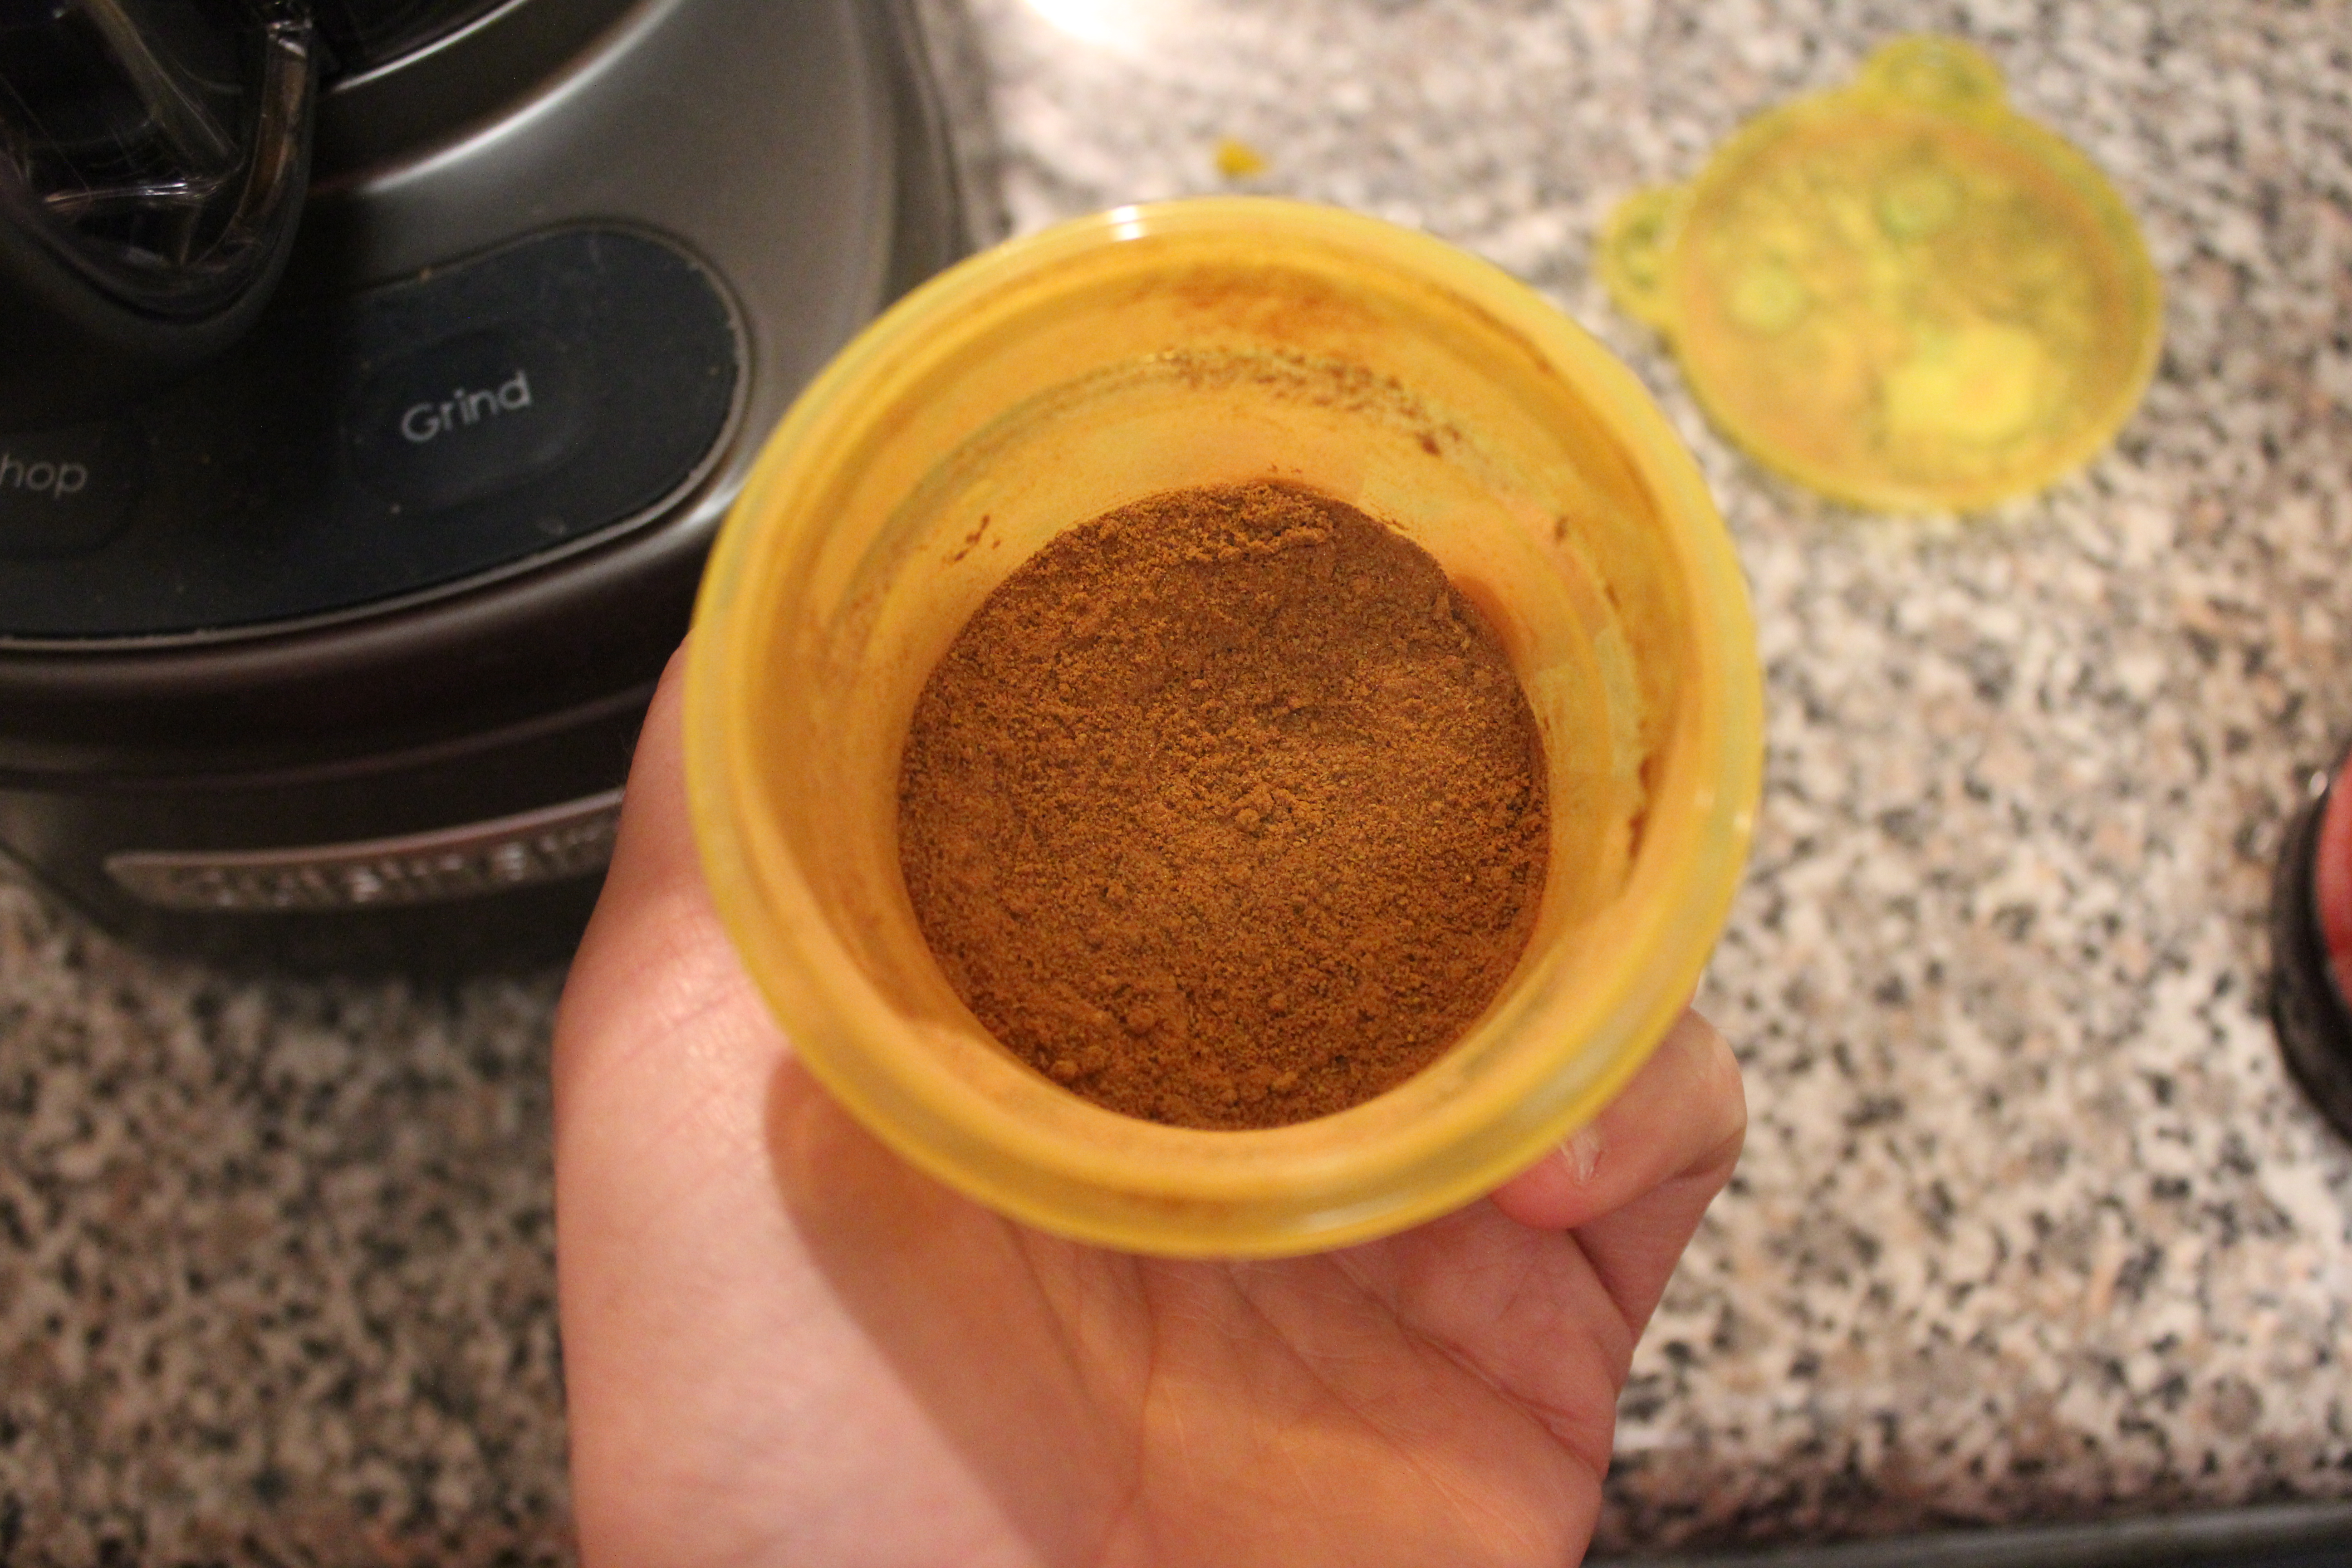
- Pumpkin Pie Spice (you can use my recipe here)
- Large, sharp knife
- Cutting board
- Deep baking dish
- Water
- Food Processor
Directions
1. Pre-heat your oven to 300 degrees. Wash and dry your pumpkin.

2. Roll your pumpkin on it’s side and cut off the stem. It’s okay if you take a little meat off the pumpkin as well.
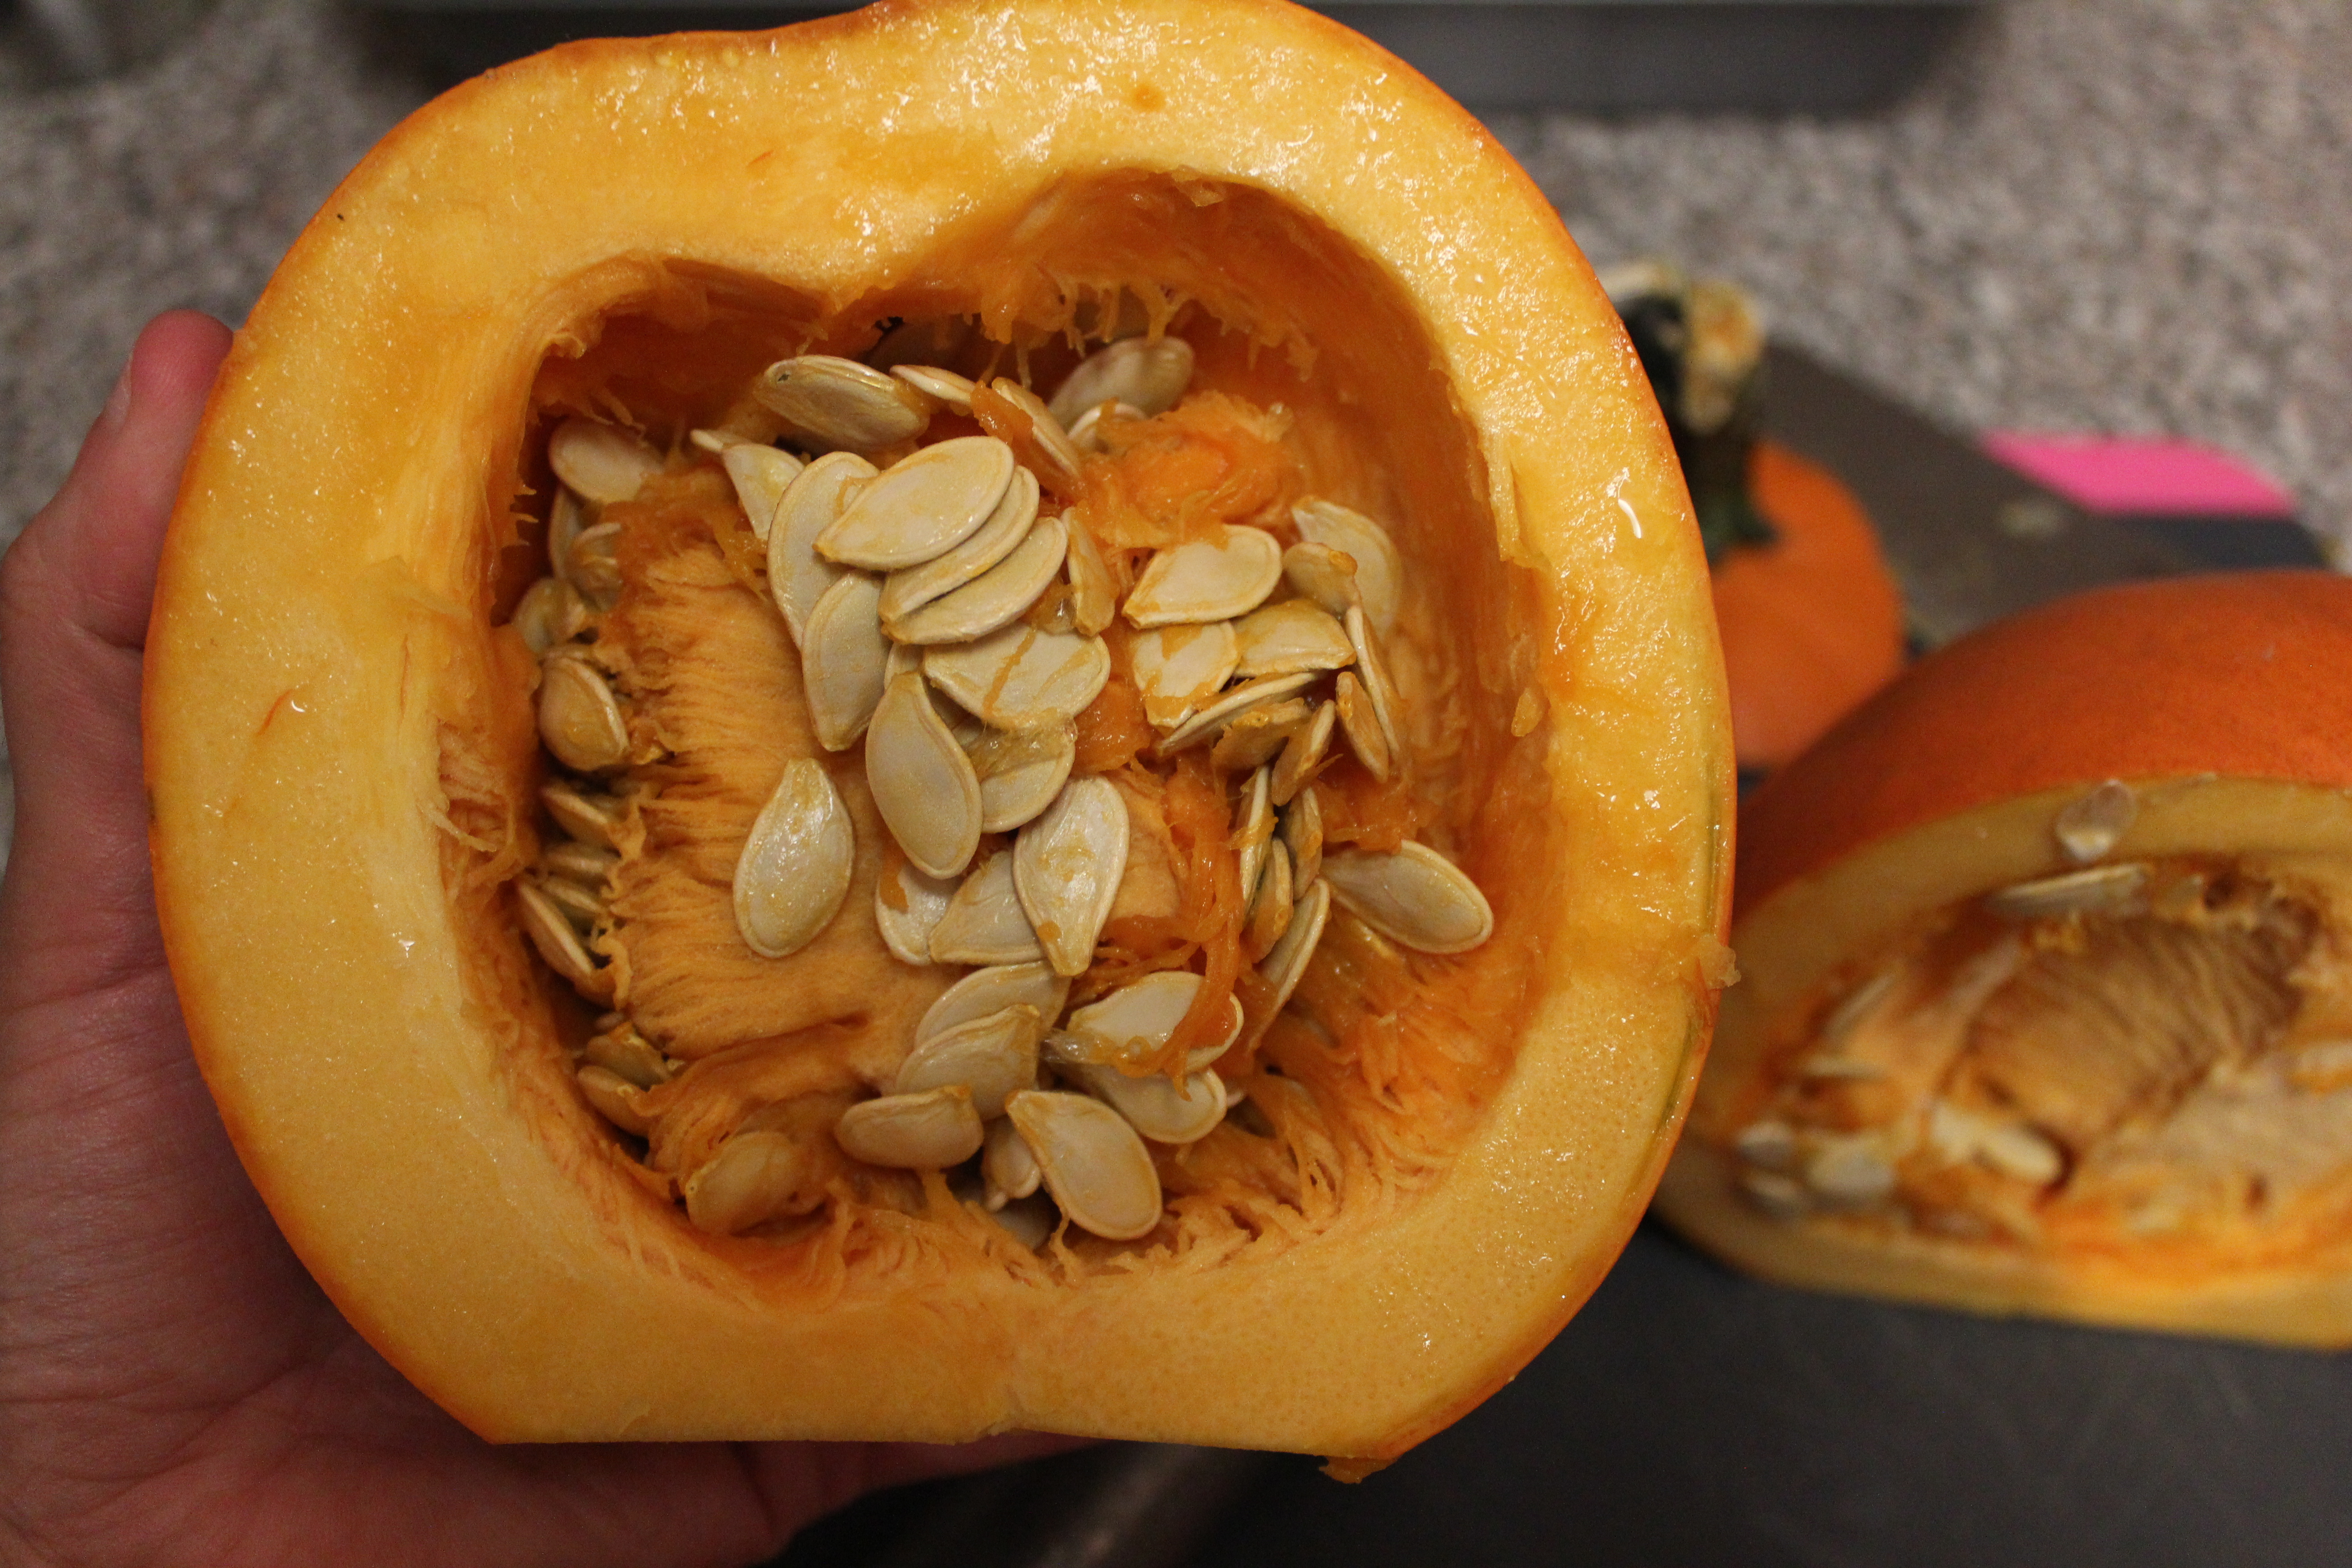
3. Standing the pumpkin up, cut it down the middle. It’s okay if it not’s perfectly even.

4. Using an ice cream scooper, scoop out all of the seeds and discard. If you like pumpkin seeds, you can wash and bake them, but I don’t so I didn’t.

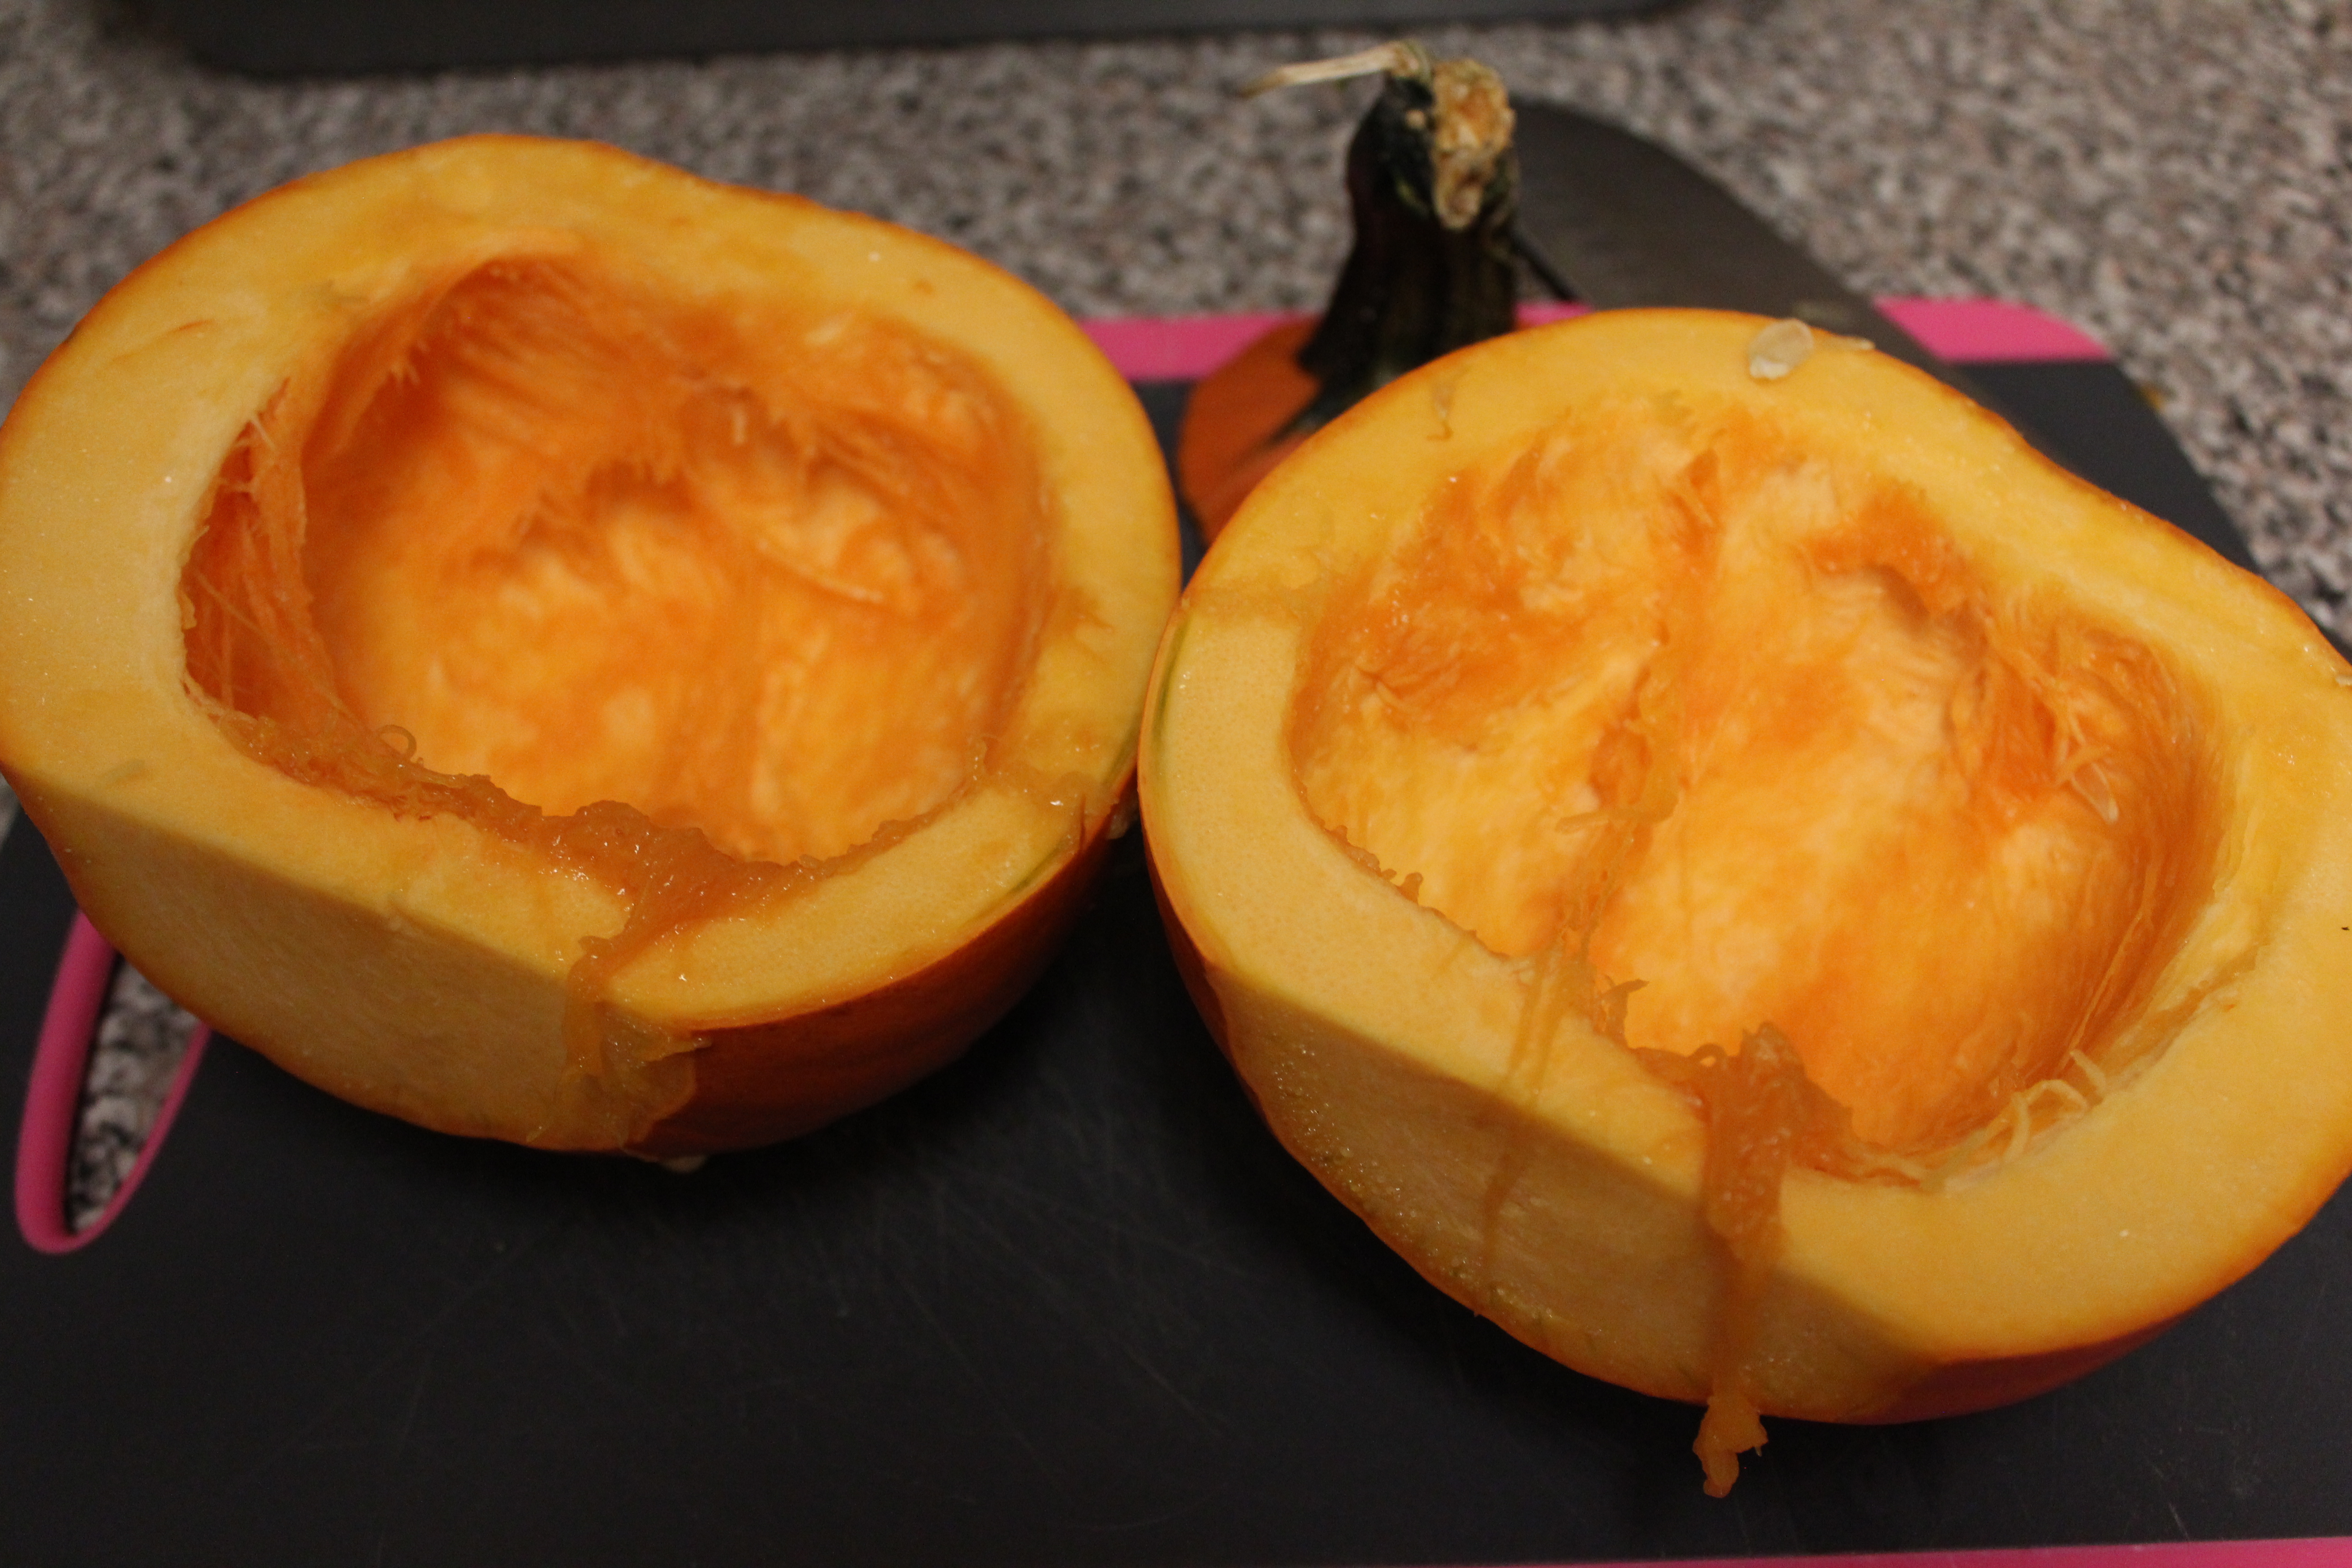
5. Place your pumpkin open side down in a deep baking dish (metal or glass). Fill dish with water about 1/4 inch high.

6. Bake at 300 degrees for about an hour. If you’re pumpkin is a little bigger it may need a little longer. The skin from the pumpkin will start bubbling up and will be easy to peel.

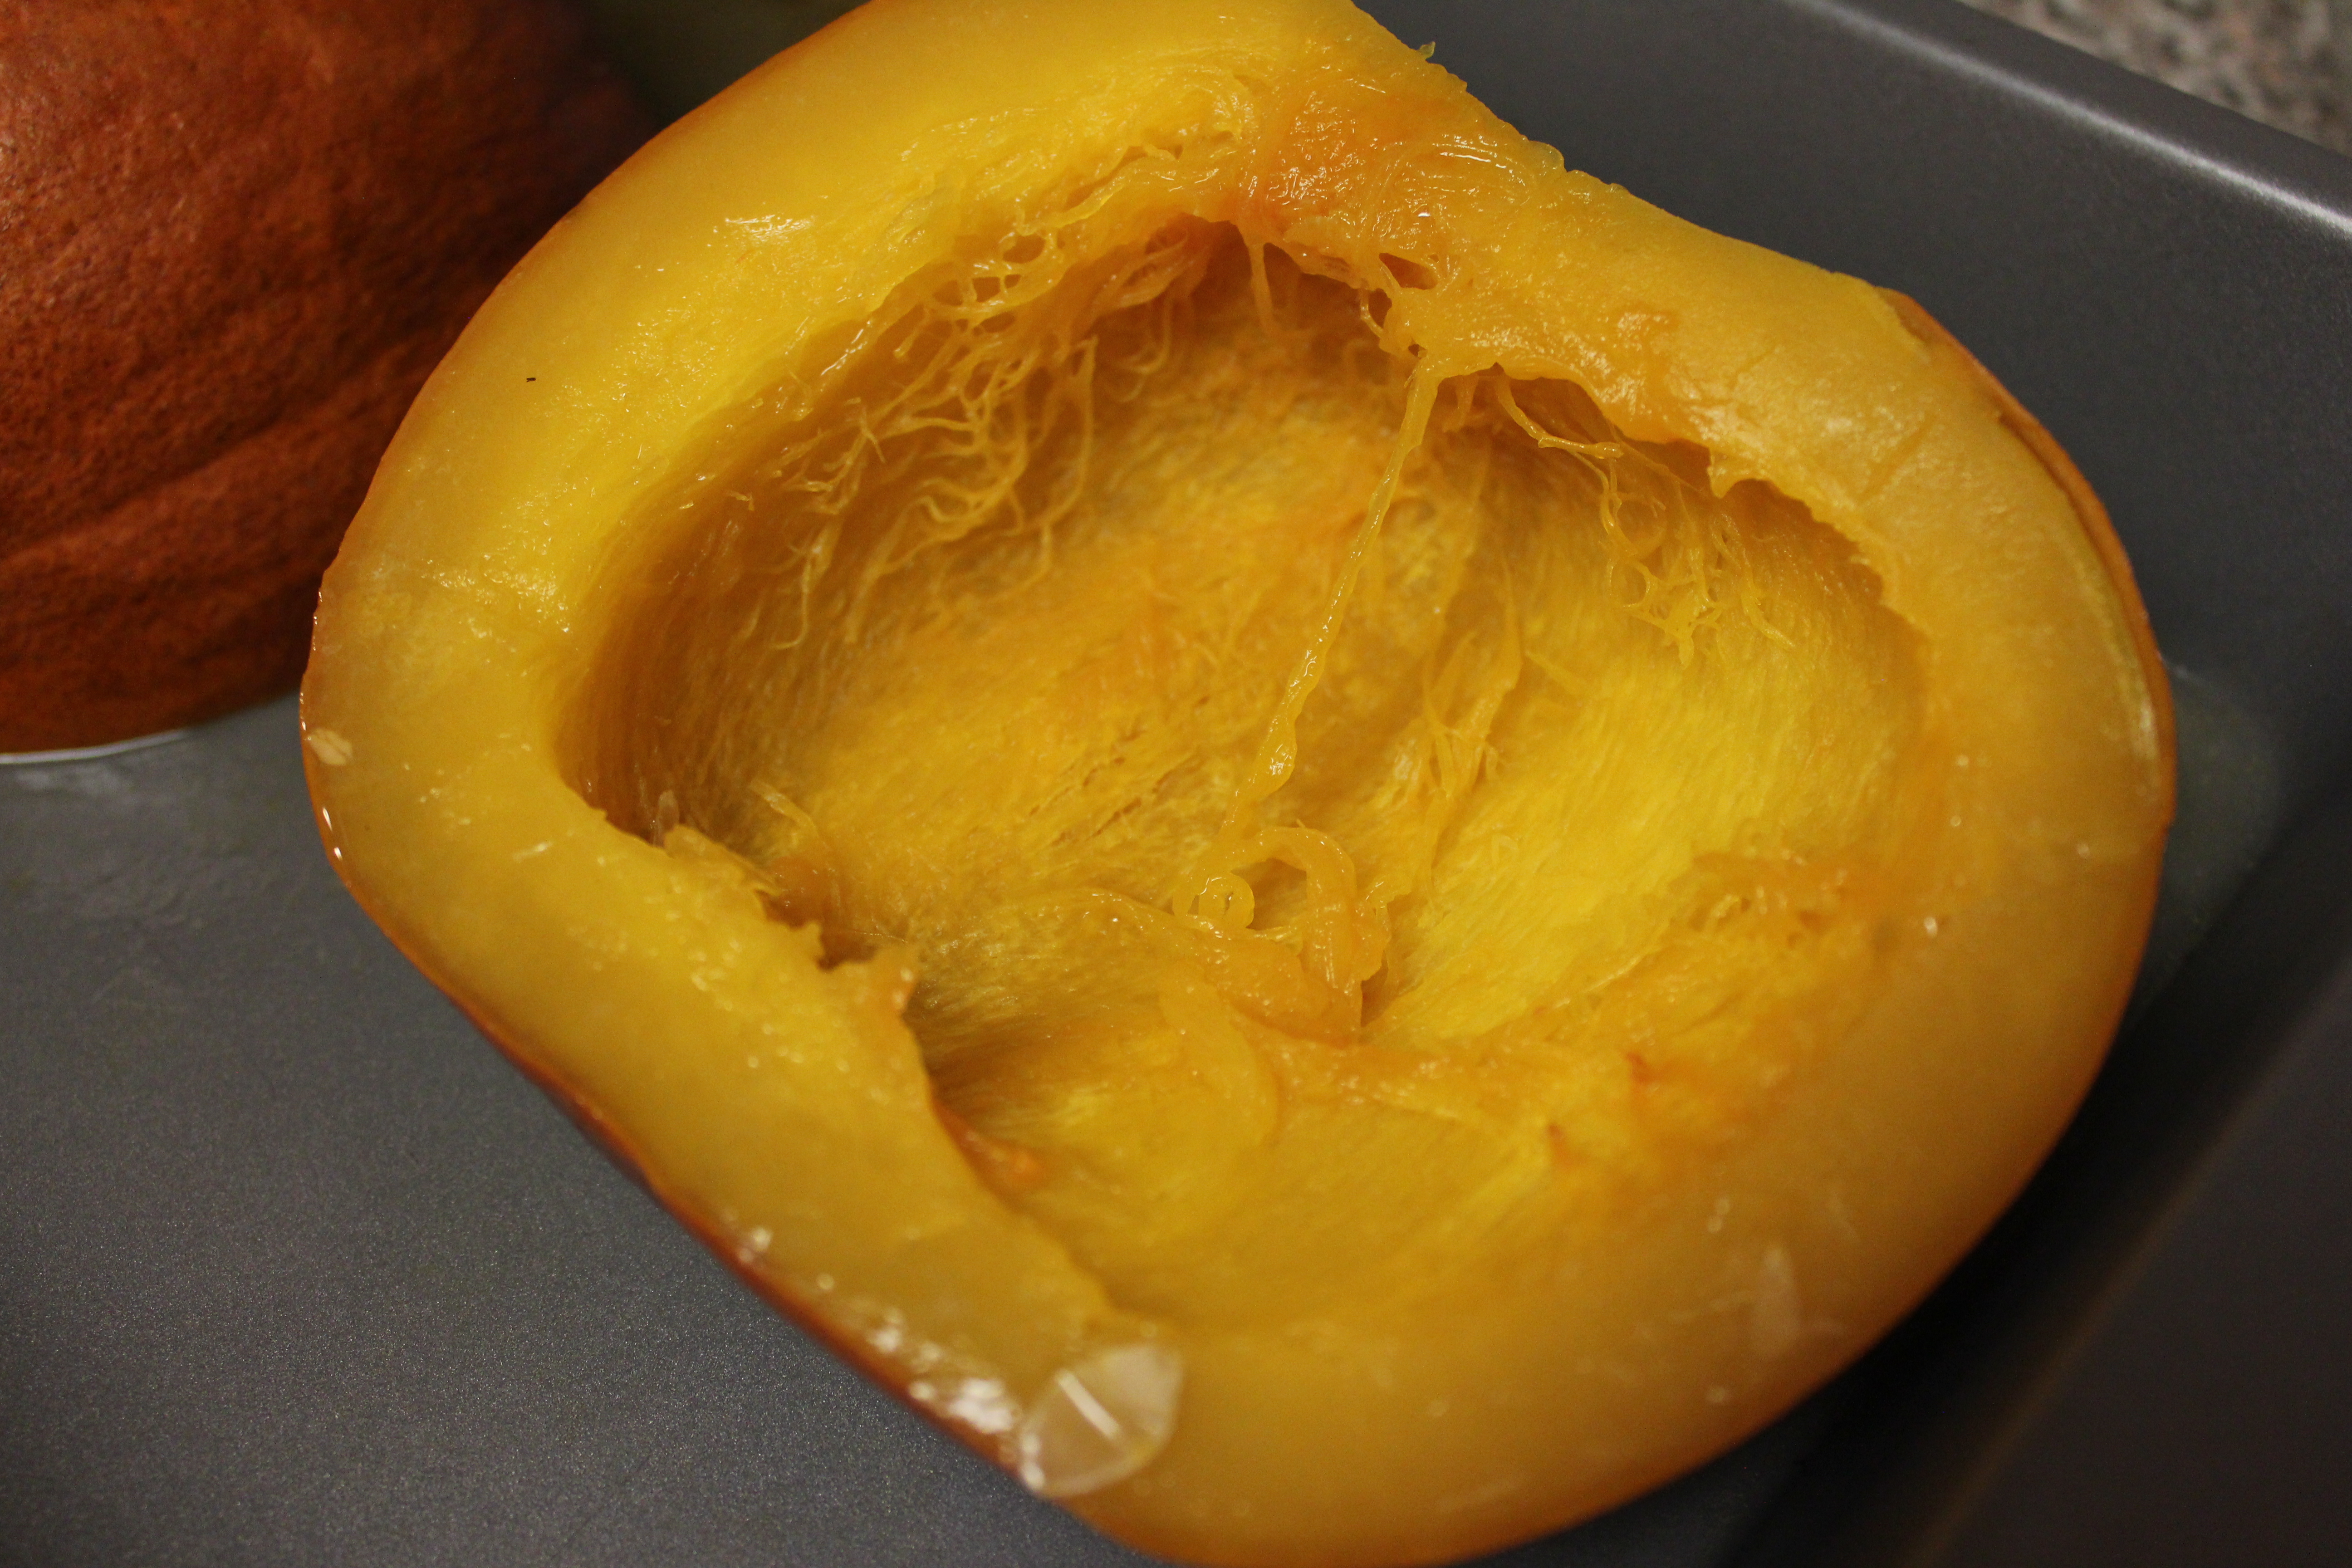
7. Let pumpkin rest for about 10 to 15 minutes (so you don’t burn yourself). Using a butter (or dull) knife, get between the meat of the pumpkin and the skin to start to pull it away. It may be easier to peel off in some places than others. The meat will be soft.
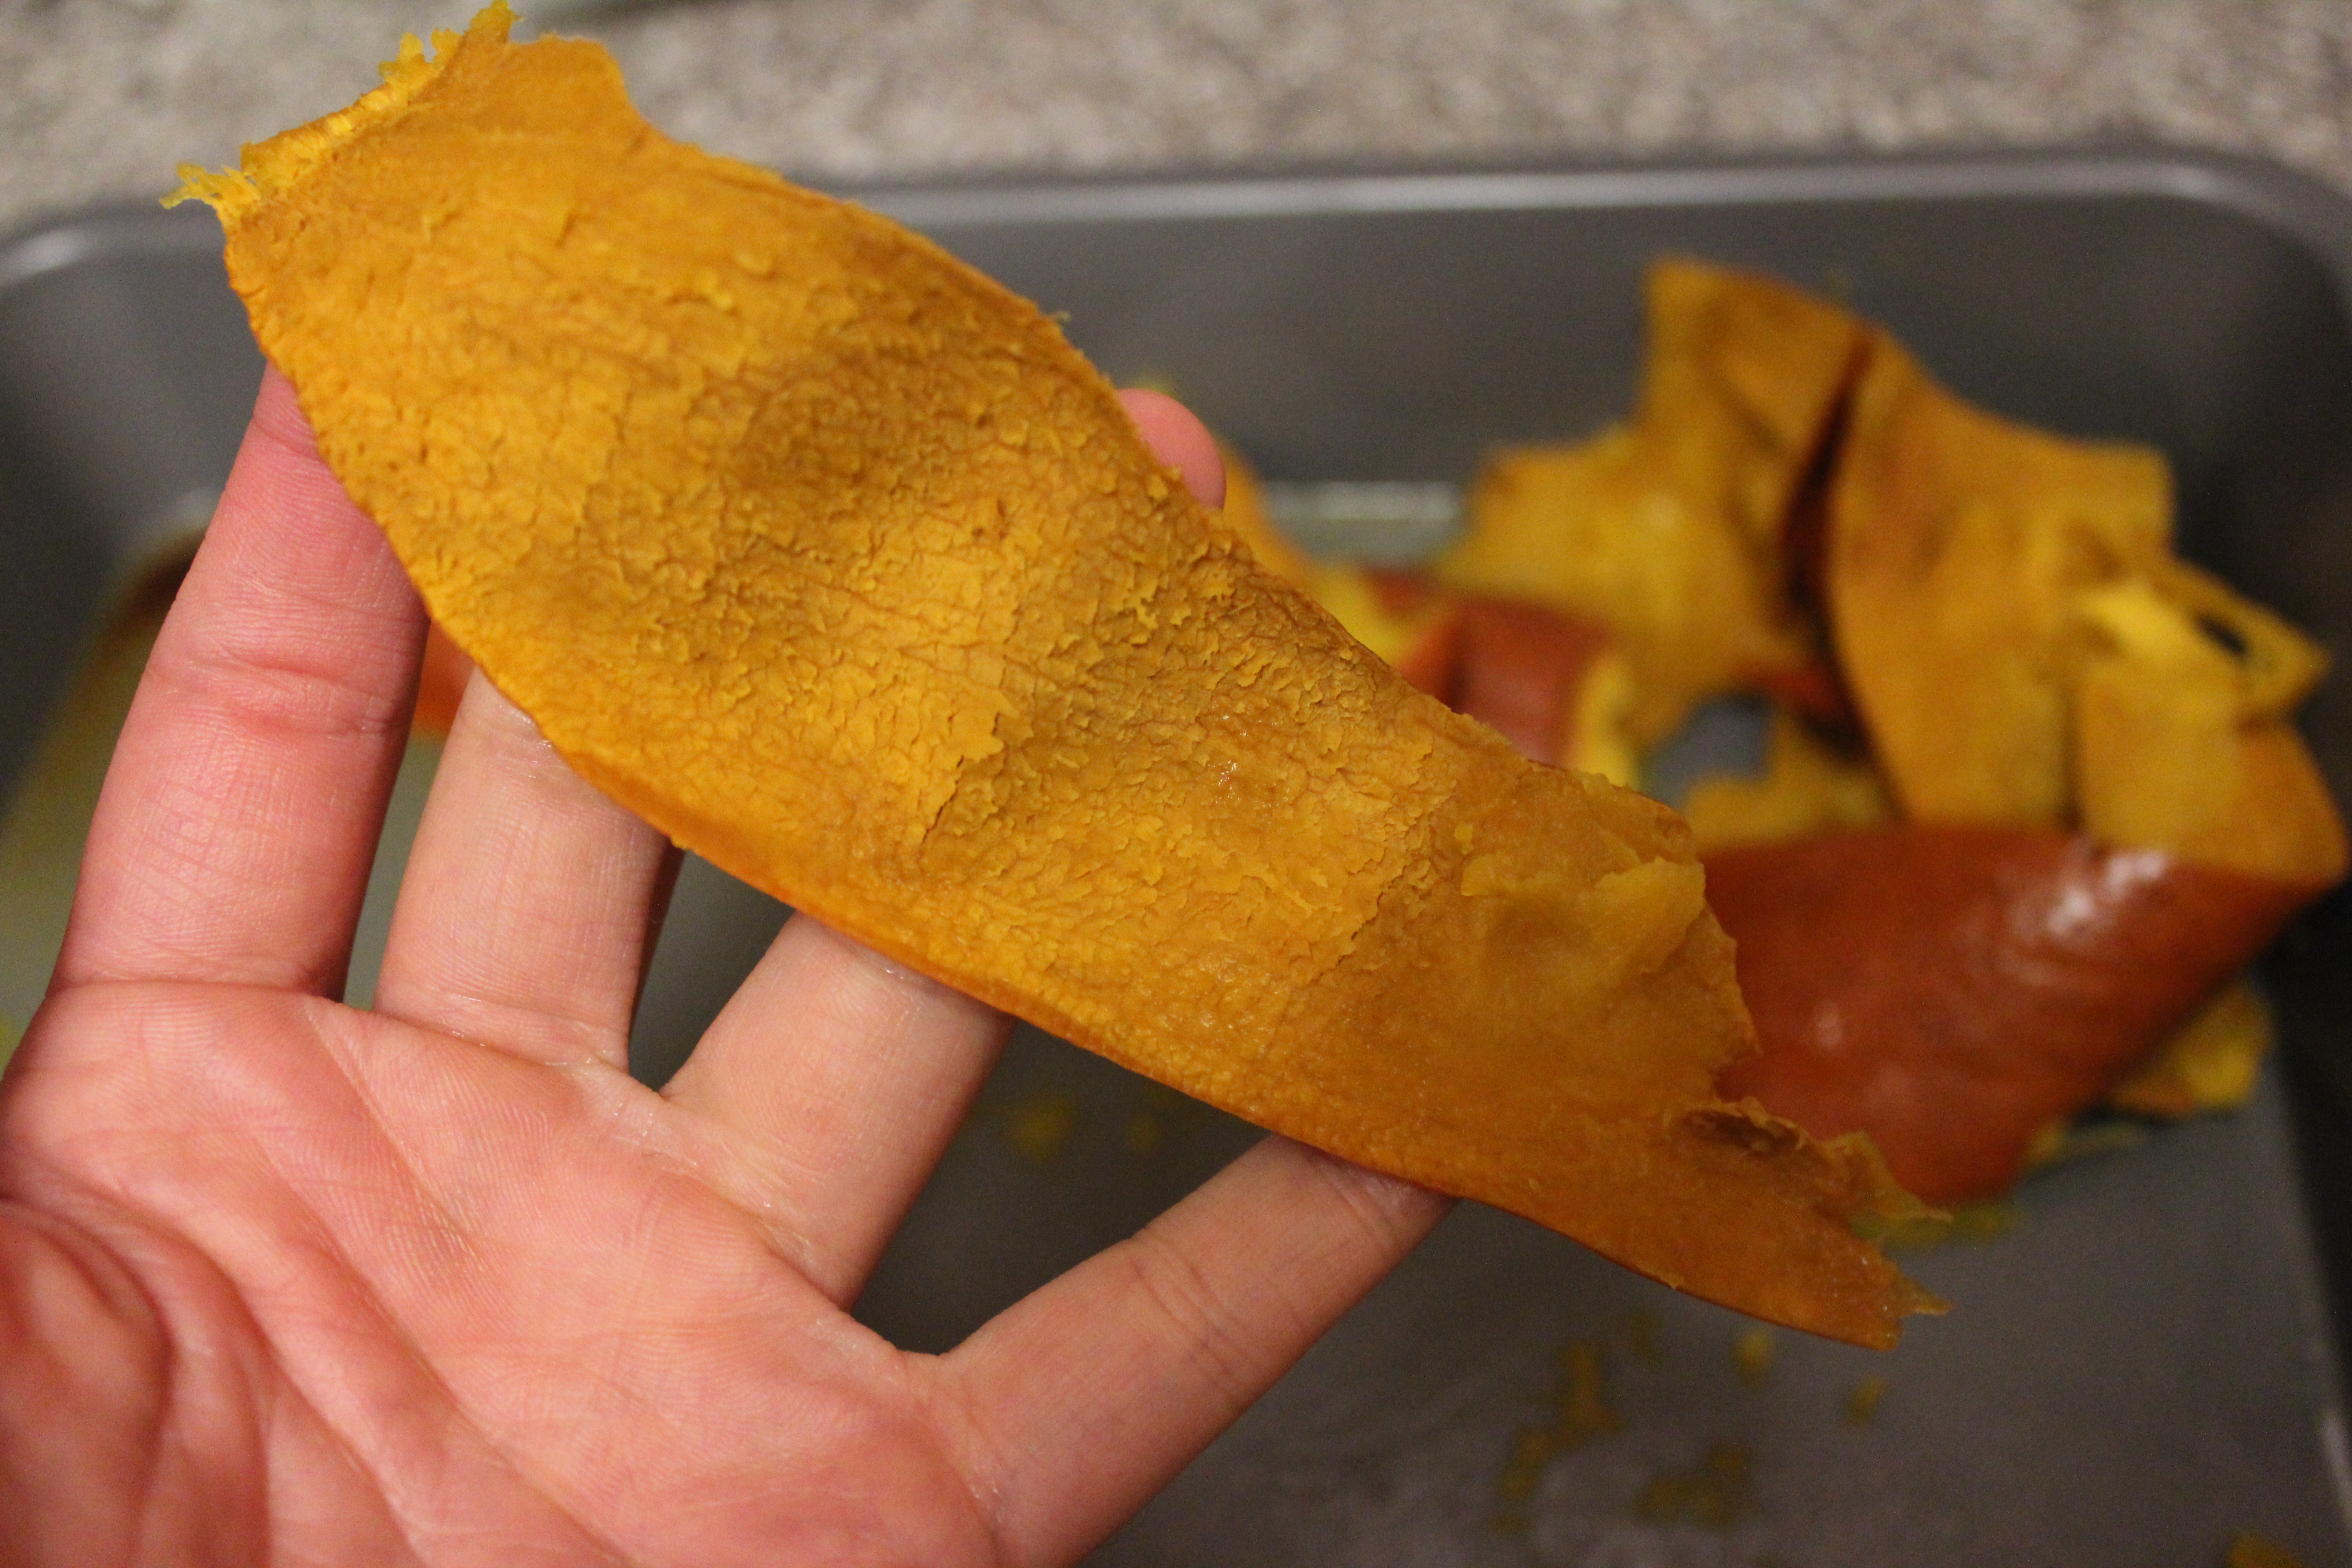
8. Cut the pumpkin into chucks and place in a food processor. I switched between pulse and grind so that the blades would change direction. You may also need to move the pumpkin around with a flat spatula so that it all purees.


9. (Optional) Add 1 tablespoon of vanilla and 1 tablespoon of pumpkin pie spice, then blend again. You could also add salt (I did that with half of the pumpkin so I could just eat it with lunch.


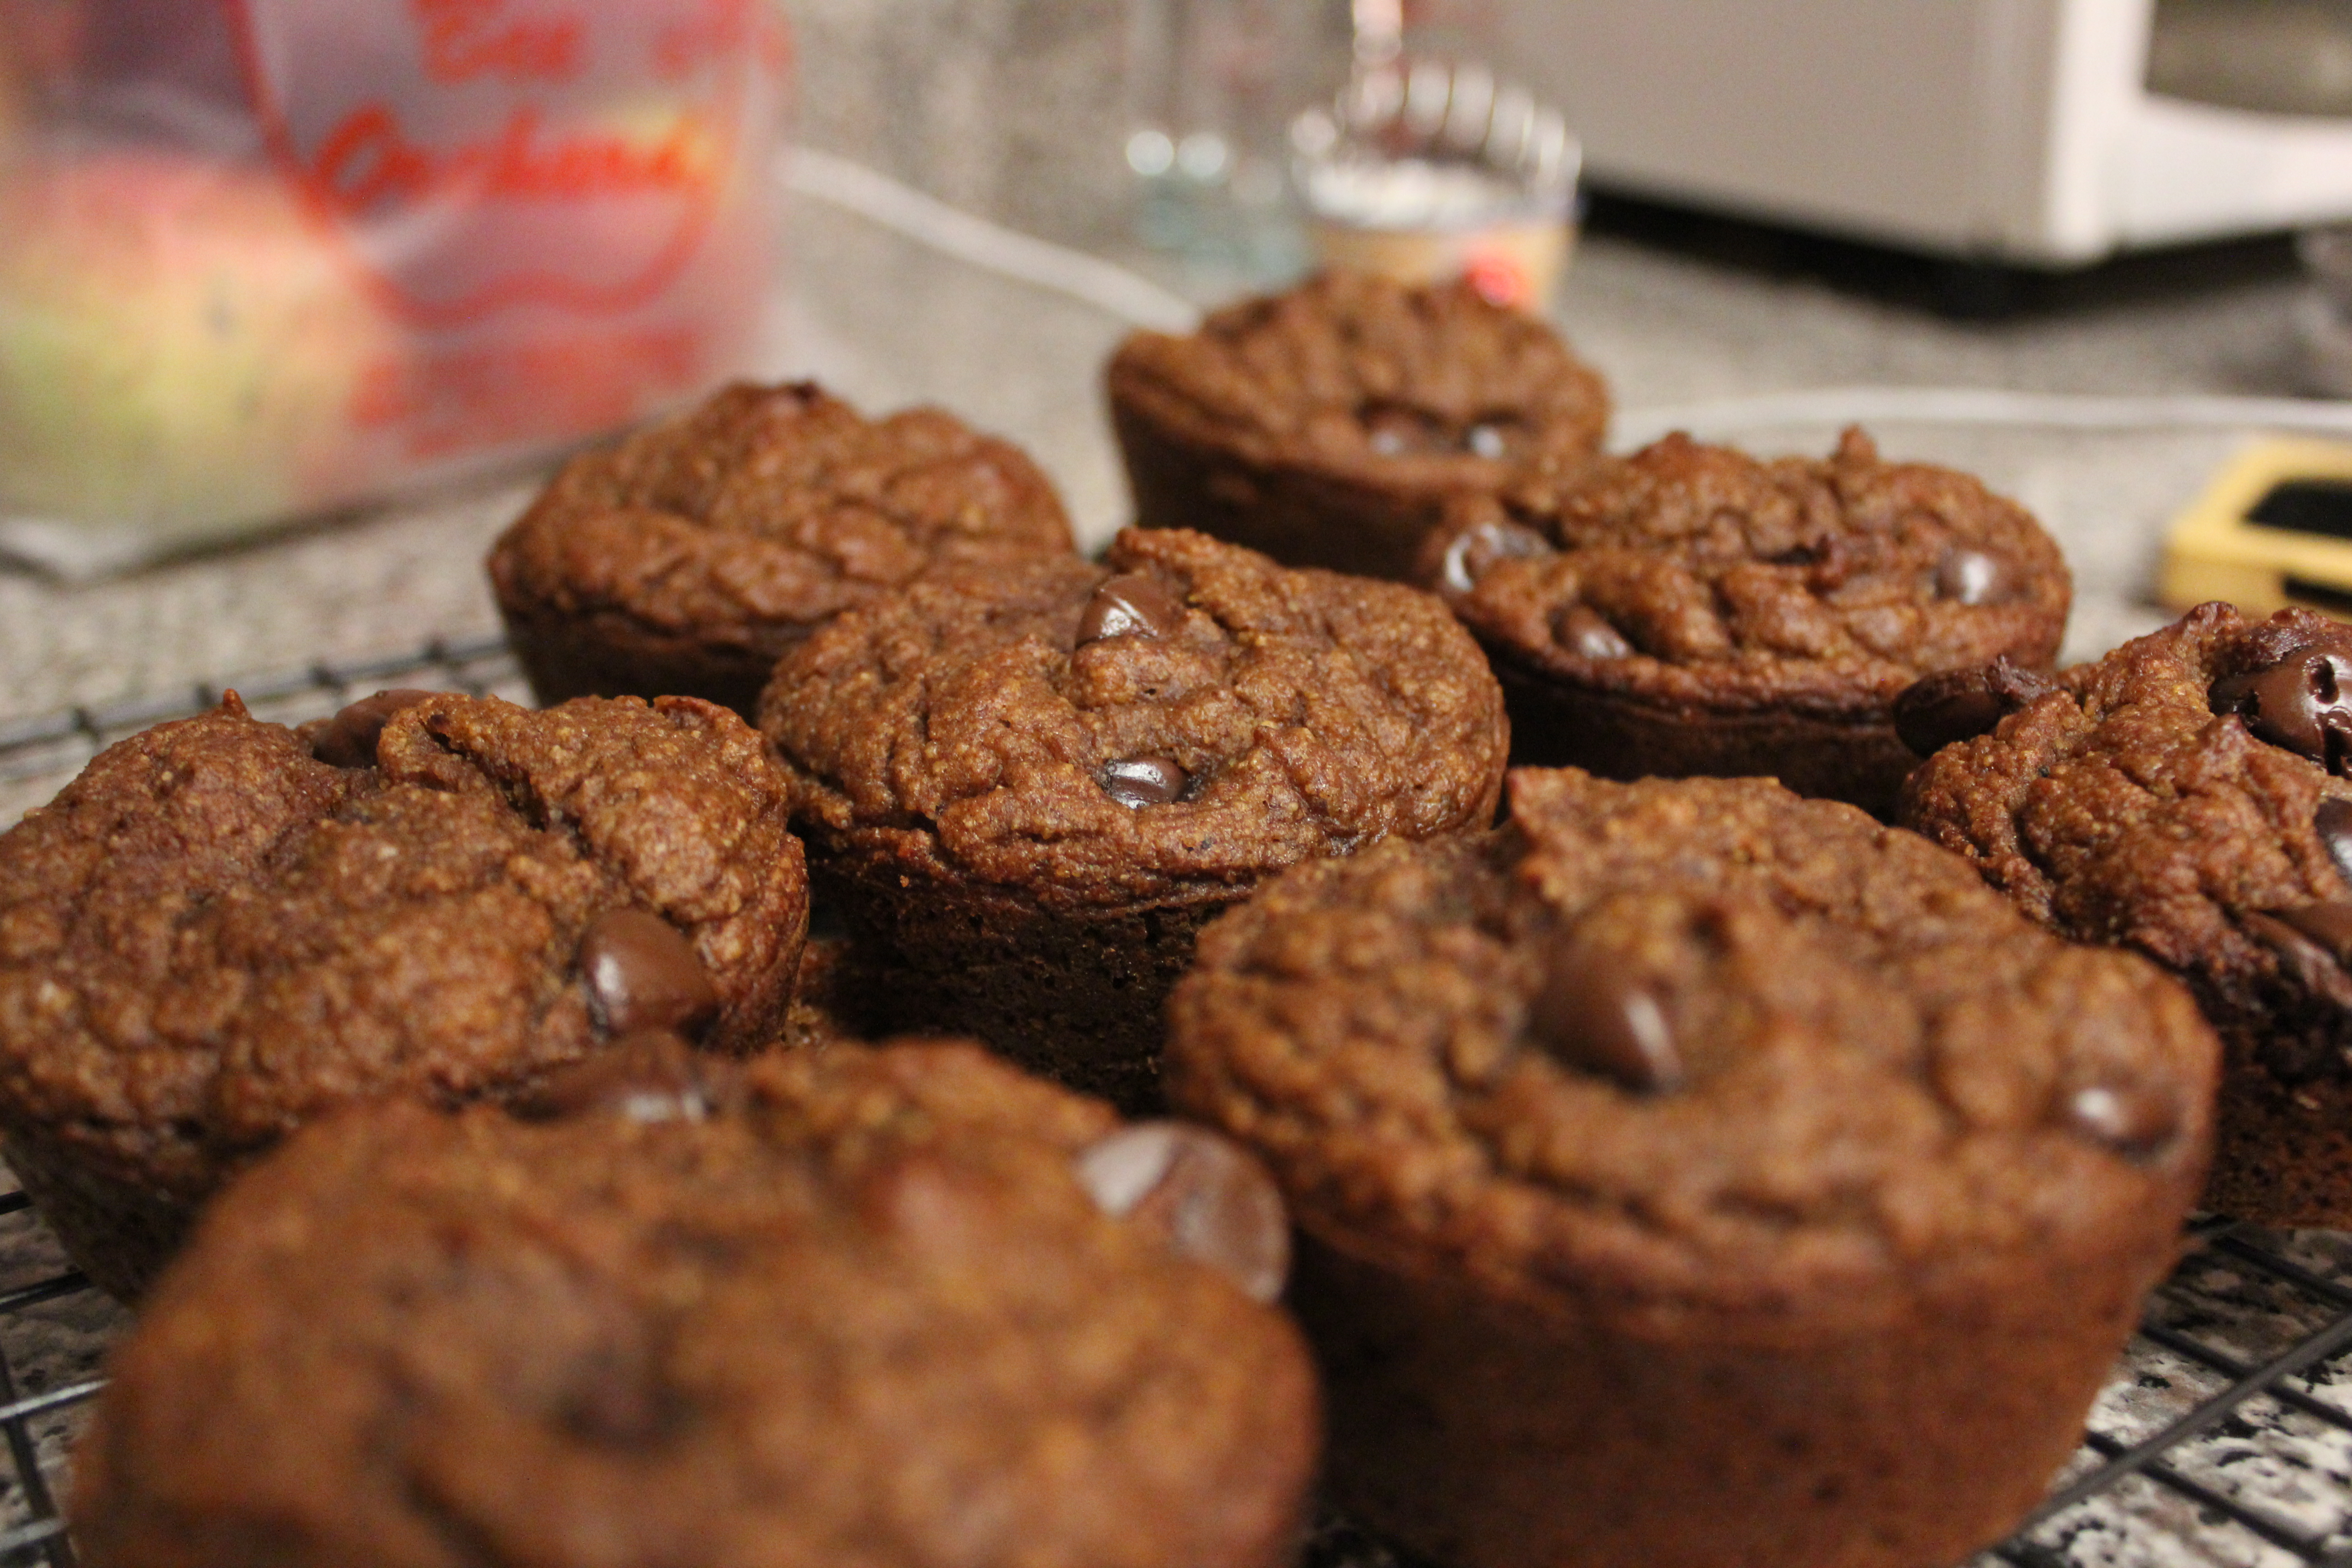
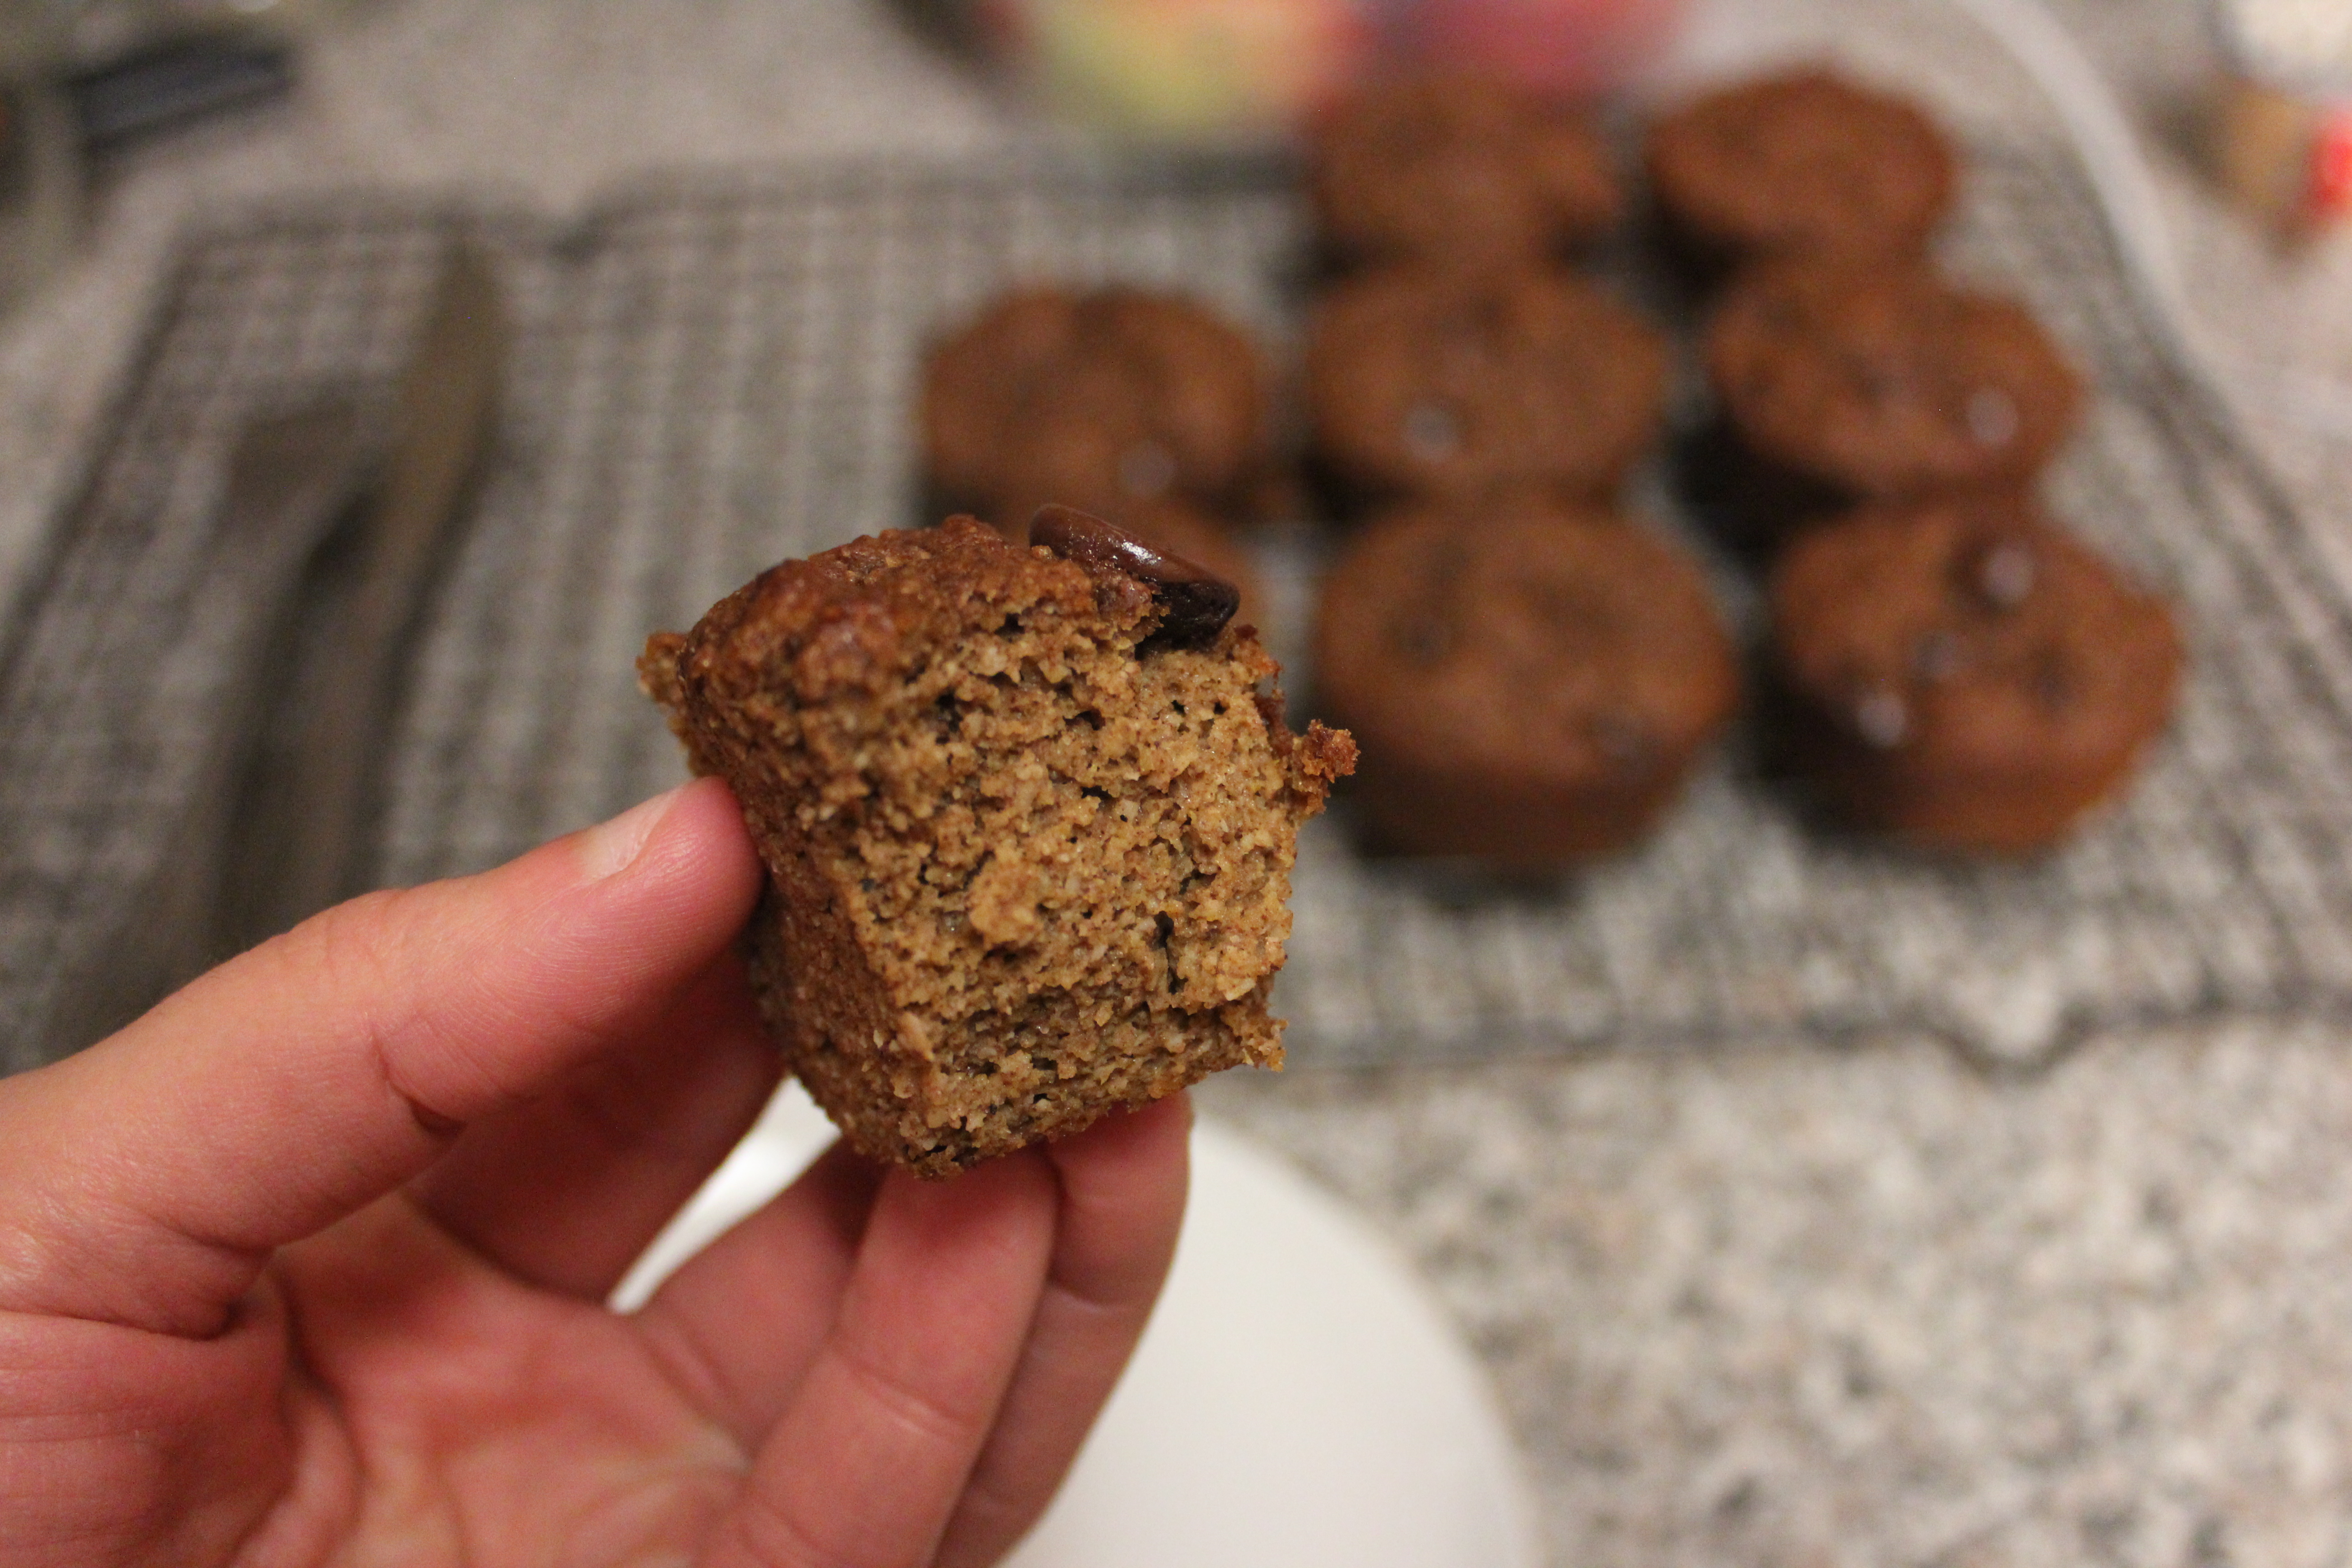
I baked my pumpkin into muffins. I used this paleo recipe here. I had almond flour in the house and it can be tricky to get the proper ratio of leavening agent in baking, so I actually followed her recipe, but I added chocolate chips and baked them for 40 minutes as muffins instead of a loaf.
Are you pro-pumpkin? What’s your favorite recipe?